Map Window
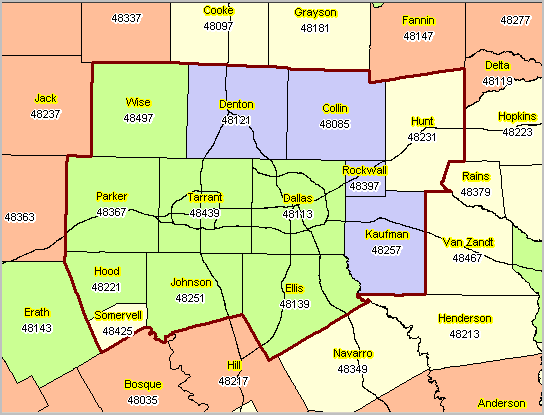
The Map Window contains the dynamically refeshed map view in visual, geographic form. It shows the layers, that are checked-on in the Legend Panel, according to settings established for each layer using the Layer Editor. The Map Window shows all coverages or layers that are checked.
When a CVGIS project (or coverage) is opened, the Map Window is populated based on settings previously set for that project or coverage.
The Map Window shows layer(s) in the order as presented in the Legend Panel. Layer order and attributes are defined by the CVGIS project.
The Map Window is aligned to client on the Windows form and expands as the overall window is expanded.

Map Window Mouse Operations
When the mouse of placed in a "mode", as described below, it stays in that mode until a different mouse mode assignment is made.
Mouse Identify Mode
Put the mouse in identify mode by selecting the mouse identify mode from the toolbar above the map window.
When the mouse is in identify mode, the mouse can be used to click on a shape or geographic object displayed in the map window the the active layer.
The active layer is selected by clicking the name of a layer shown in the legend panel.
- when a layer is made an active layer, the legend caption/block turns blue.
- there can be only one active layer at a time.
With an active layer selected, click on any shape of geographic object (relative to that layer/shapefile) to display a mini-profile.
Mini-Profile
The mini-profile is a moveable form that initially displays attributes of the active layer in a form displayed in the upper right corner of the map window.
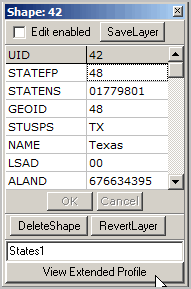
The following graphic illustrates the mini-profile form structure. See details below graphic.

The most common use of the mini-profile is to access a tabular view of fields in the layer's shapefile dbf.
Structure and Use of Form
The layer name is shown below the buttons "DeleteShape" and RevertLayer.
The form shows a table of two columns. Each row in the table corresponds to a field in the active layer shapefile dbf. The field name "STATEFP" has the value 48 (Texas) in this example. The shapefile used in this example is the U.S. by state shapefile named "cb_2015_us_states_500k.shp". This shapefile is used is most CV GIS projects included with the installer.
The mini-profile may also be used to delete a shape or modify the attributes of a shape.
*It is unlikely that a user would want to edit the values in the shapefile dbf used in this example.*
*Deleting a shape can be disasterous.* This action will remove all traces of that geography and its attributes. This operation is only for experienced users.
But, the values of individual files may be modified using this form/tool.
| • | Check the Edit enabled checkbox. |
.. the OK and Cancel buttons become enabled/visible.
| • | Optionally modify the value of any field/row by overwriting the content in the right column. |
| • | If a value is modified and that value is to be saved, click the OK button and then the SaveLayer button. |
The form can now be closed and any edited values are stored permanently
If a shapefile is referenced in more than one layer, that shapefile may not be edited.
View Extended Profile
The View Extended Project button will only appear for these layers/shapefiles:
U.S. by State -- cb_2015_us_states_500k.shp
- click the View button in this case shows the state profile (example for Texas)
U.S. by CBSA/Metro -- cb_2015_us_cbsa_500k.shp
- click the View button in this case shows the state profile (example for Dallas County, TX)
U.S. by County -- cb_2015_us_county_500k.shp
- click the View button in this case shows the CBSA Situation & Outlook report (example for Dallas MSA)
