AddLines

Contents
Steps to Add/Create a Lines Shapefile
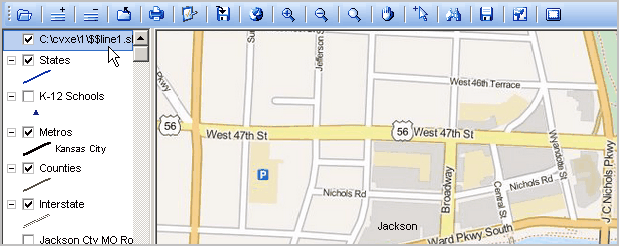
Adjust the c:\cvxe\1\cvxe_us2.gis project view (see main Add Shapes section) so that it appears as shown below. A two line shapes shapefile will be created. A single line shapefile can be created or hundreds of line shapes could be added in a single lines shapefile.
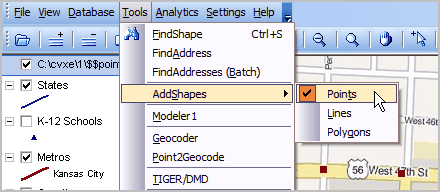
With the mouse in Select Mode, click Tools>Add Shapes>Points -- this starts the process. To end the process, this same menu item will be clicked ending the process as described below.
At start-up, when Tools>Add Shapes>Lines is clicked, you are prompted for the file name to be created. The default name is c:\cvxe\1\$$lines1.shp. Use that file by clicking the Open button on the New shapefile name dialog. The file must not be in use and will be overwritten if it exists.
A message appears "New lines layer created; make active; click to add points." Click OK. To make the new lines layer active, click the layer name once as shown below. The layer name turns blue indicating this is the active layer.
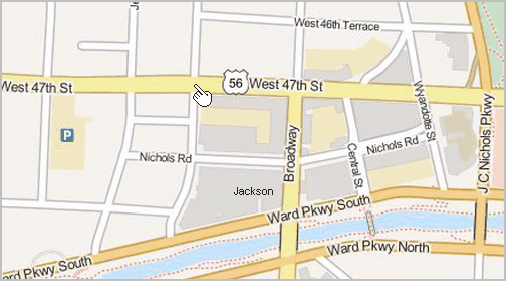
Click the mouse at the intersection shown by the pointer below.
A marker now appears at the mouse click location as shown below. A mini-profile appears enabling attributes to be set for this point.
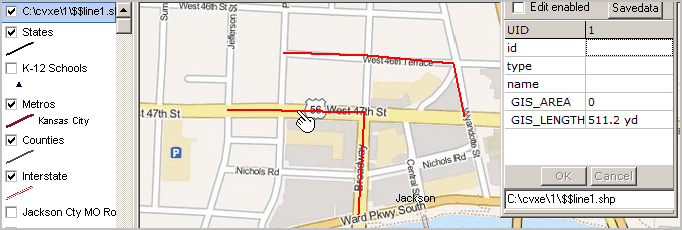
For now, ignore the mini-profile and click a second point as shown below.
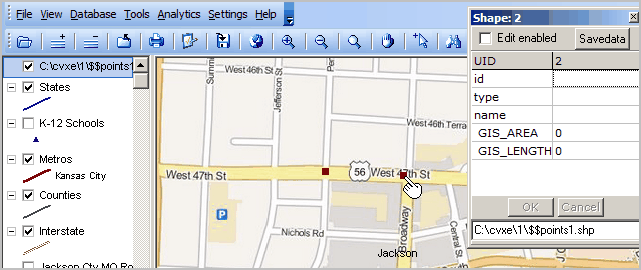
The new point shapefile will now be saved, by clicking Tools>Add Shapes>Points as shown below (the Points item now appears as unchecked).
The process has been completed.
Close the project and reopen the same project.
Use the AddLayer button to add the 2-point shapefile just created (c:\cvxe\1\$$points1.shp).
