Texas Statewide K-12 Schools & School Districts

Contents
Texas Statewide K-12 Schools & School Districts
-- building a GIS project with DMILab Tools (http://proximityone.com/dmilab.htm)
Houston area schools & school districts
- develop the capability to view/analyze school/school districts and patterns/characteristics of interest
This section provides a step-by-step description of how to create and start using a Texas K-12 schools and school districts GIS project.
All that is needed to complete the steps is Internet. Steps shown below will be extend over time.
We review this GIS project development in the GIS & GeoDemographics Webinars.
See http://proximityone.com/webmeetings.htm for more information.
Step 1. Install DMILab Tools on your computer (see http://proximityone.com/dmilab.htm).
Step 2. Install the ProximityOne Reproject tool on your computer (see http://proximityone.com/gis.htm).
Step 3. Expand the Texas Education Agency schools and school districts shapefiles on your computer.
The general reference page is here: http://ritter.tea.state.tx.us/SDL/sdldownload.html
Follow these steps:
3.1. Expand the schools shapefile http://ritter.tea.state.tx.us/SDL/Schools2010.zip to the folder c:\texasschools.
3.2. Expand the school districts shapefile http://ritter.tea.state.tx.us/SDL/Districts_10_11.zip to the folder c:\texasschools.
3.3. Expand the ESC shapefile http://ritter.tea.state.tx.us/SDL/ESC2007.zip to the folder c:\texasschools.
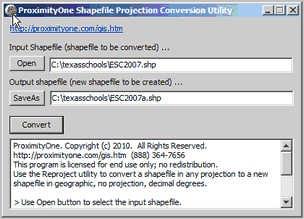
Step 4. Convert Selected Shapefiles to no Projection Format
Convert the TEA shapefiles to geographic, no projection (this enables you to more easily add Census sourced files later).
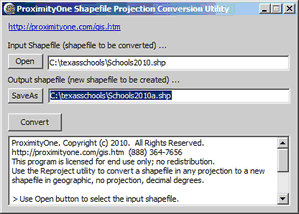
4.1. Start the Reproject utility (use the Reproject desktop icon)
4.1.1. Convert the schools shapefile to no projection format
(note the output file name is different only with the addition of the letter "a" -- C:\texasschools\Schools2010a.shp)
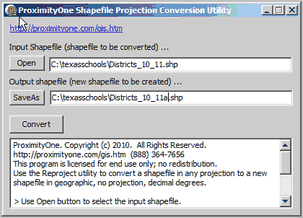
4.1.2 Convert the school districts shapefile to no projection format
(note the output file name is different only with the addition of the letter "a" -- C:\texasschools\Districts_10_11a.shp)
4.1.3 Convert the ESCs shapefile to no projection format
(note the output file name is different only with the addition of the letter "a" -- C:\texasschools\ESC2007a.shp)
File conversion complete, close Reproject.
5. Build the GIS Project
5.1. Start DMILab Tools (use the DMILab desktop icon)
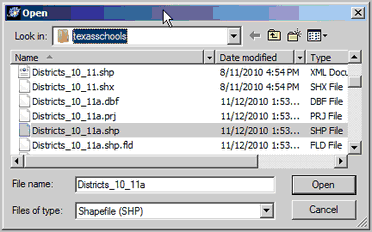
5.1.1. Add the school districts layer/shapefile
On the main menu toolbar, use File>Close Project
Use the File>Open and open the school districts shapefile:
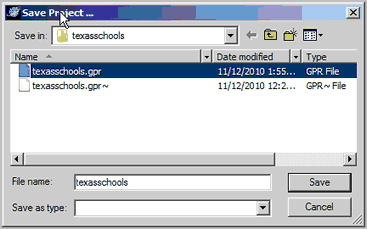
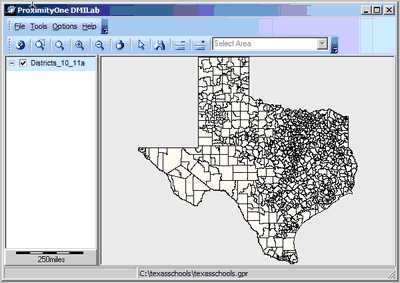
At the automatic prompt, save the project as c:\texasschools\texasschools.gpr:
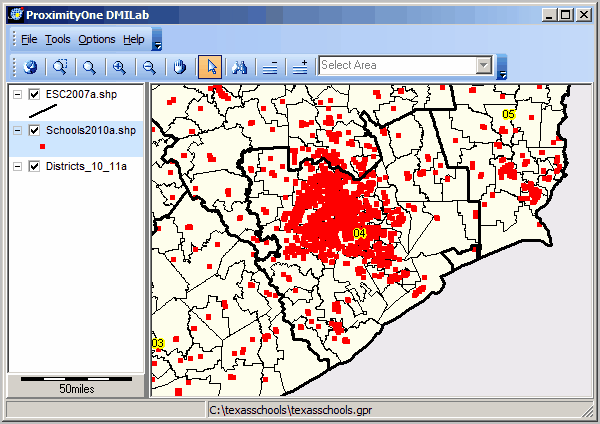
The project/view now looks as shown below:
Steps 5.1.2 and 5.1.3.
Use the AddLayer button to add the schools and ESC layers/shapefiles:
C:\texasschools\ESC2007a.shp
C:\texasschools\Schools2010a.shp
The view now appears as shown below.
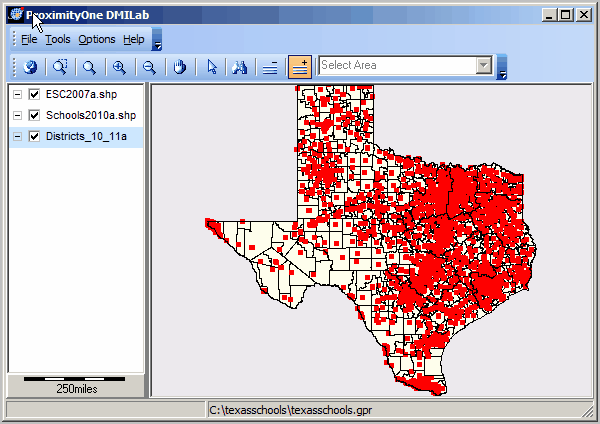
Step 5.2. Use File>Save and the basic project is complete.
6. Applications
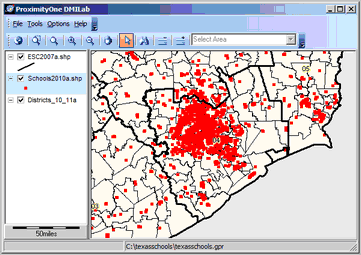
Zoom into the ESC 4 / Houston area
In the next view, the ESC layer boundary shows a bolded setting
The schools layer shows schools as red markers and the marker style is now showing in the legend.